RAFT
How do we build the Raft?
The Leeway-25 expedition strives for historical plausability. Essentially, we're constructing and navigating a pre-Columbian raft based on our understanding of its construction. We're familiar with the raft's individual components and the methods used for steering. Our steering techniques, sailing approach, and rigging design stem from numerous written accounts, model tests, extensive hours sailing a 1:3 scale model, and a voyage between Sweden and Finland using a smaller life-sizes version.
Our manual raft construction begins in early March 2025. Our aim is to set sail around the 17th of May 2025. The wood required for the raft will have been on-site, drying for a year by then.
It's essential to note this isn't an exact historical replica as we build it the way it is most reasonable after all our tests and trials. For safety and financial reasons, the protective shelter, sail, and ropes incorporate modern materials. However, these modern elements don't compromise the integrity of our research inquiry.
Week 8
28.04.25 - 04.05.25
-
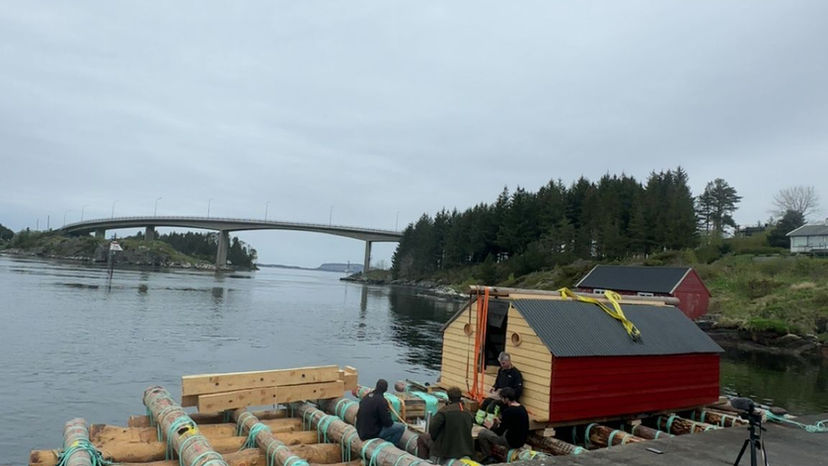
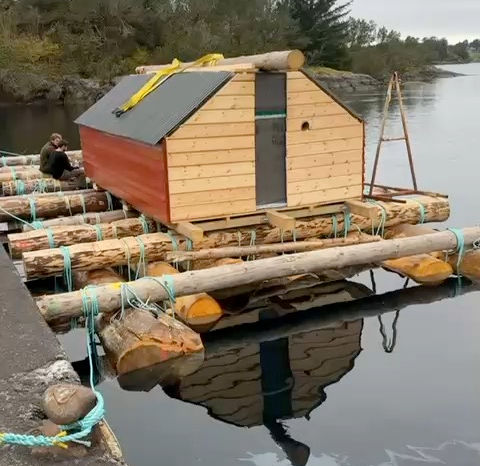
We managed to hit the deadline: the raft was fully bound together and moved to the new dock on the very last day.
-
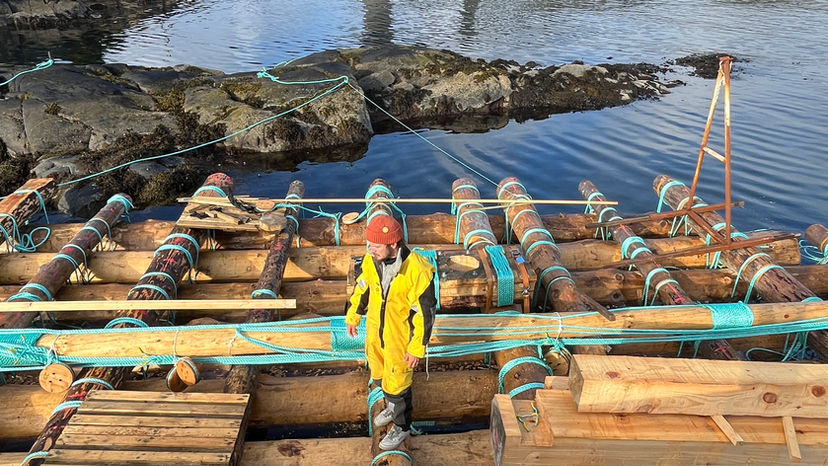
All logs and crossbeams are now tightly connected using a pulley system with a 10:1 transmission ratio.
-
We also secured the top ends of the shrouds and stays to the mast and completed the baseframe of the hut.
-
The transport to the new dock took about half a day.
-
However, we didn’t manage to place the cabin on the raft or raise the mast.
-
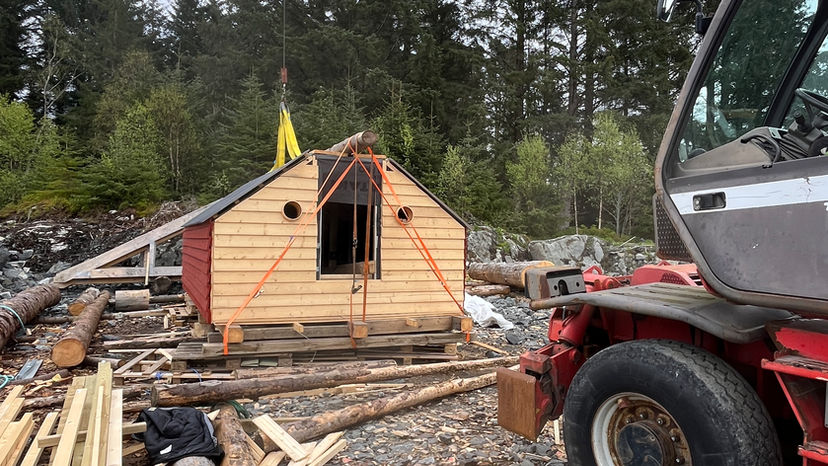
Although we had already lifted the cabin onto the raft, we had to remove it again - we still need to cut several notches into the crossbeams to ensure that the hut sits properly.
-
Since the hut is one of the most important elements of the raft, we want to take the time to make sure it’s placed correctly.
-
The mast also needs to wait, as it can only be raised once the hut is in place.
-
On Thursday, we took a well-earned rest day after the exhausting work of binding and moving the raft.
-
Friday was rainy, so we took another day off. On Saturday, we plan to cut the remaining notches and prepare everything to move the hut onto the raft and raise the mast at the beginning of calendar week 19.
Part 11
Week 7
21.04.25 - 27.04.25
-
This was the most important—and most stressful—week of the entire building process.
-
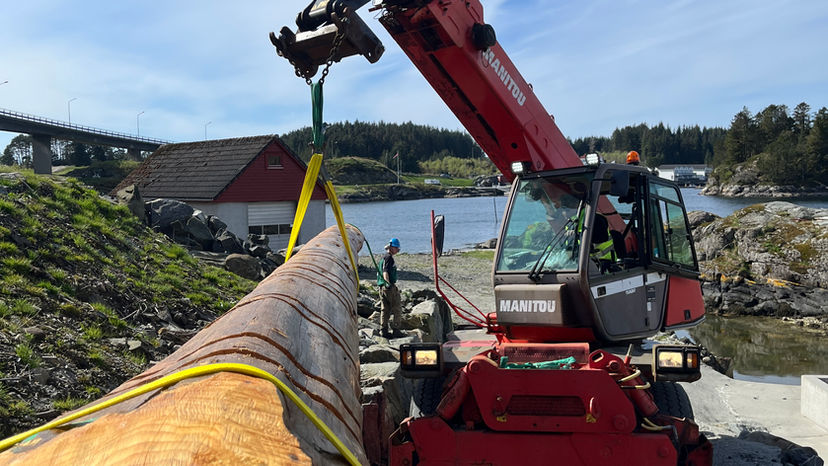
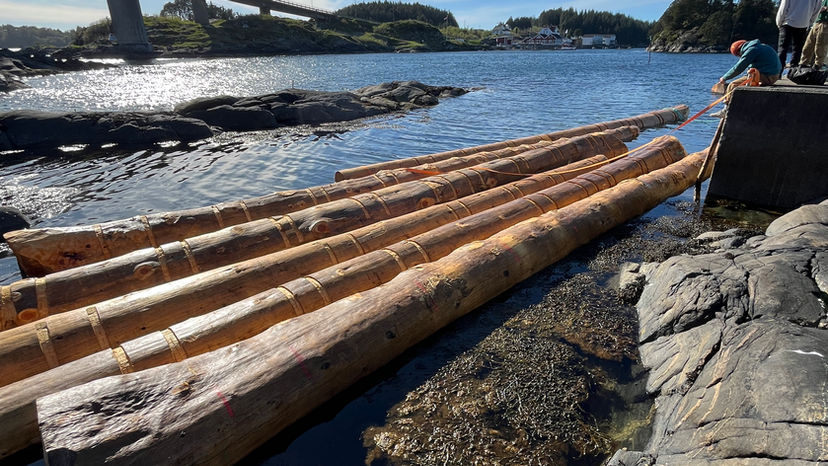
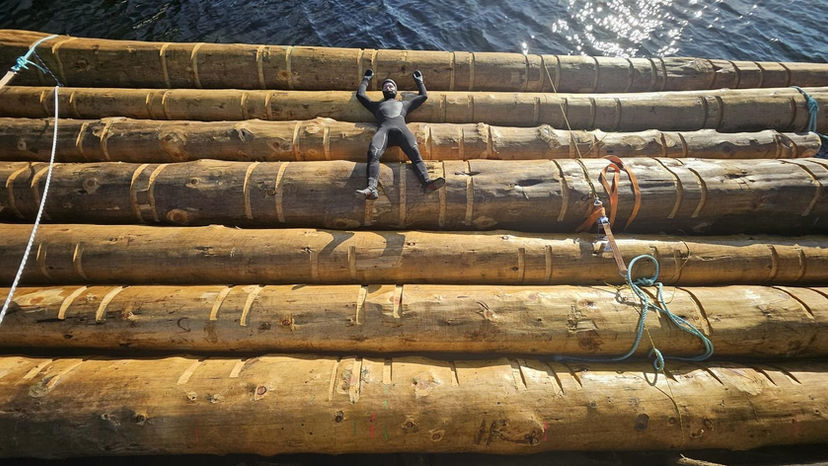
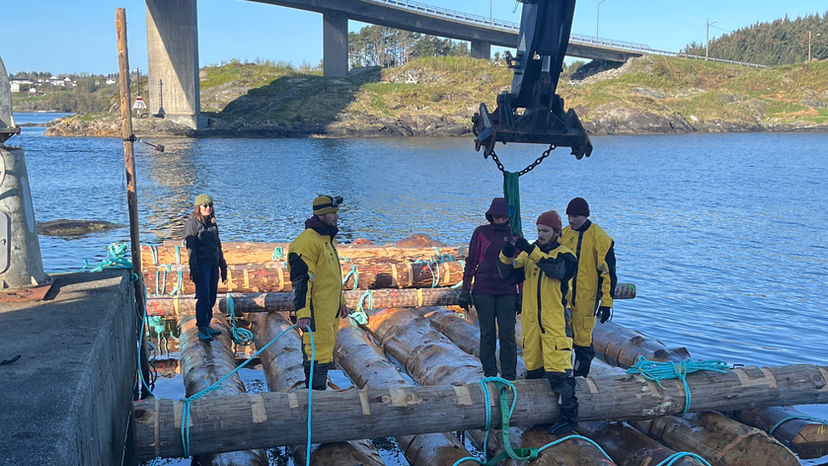
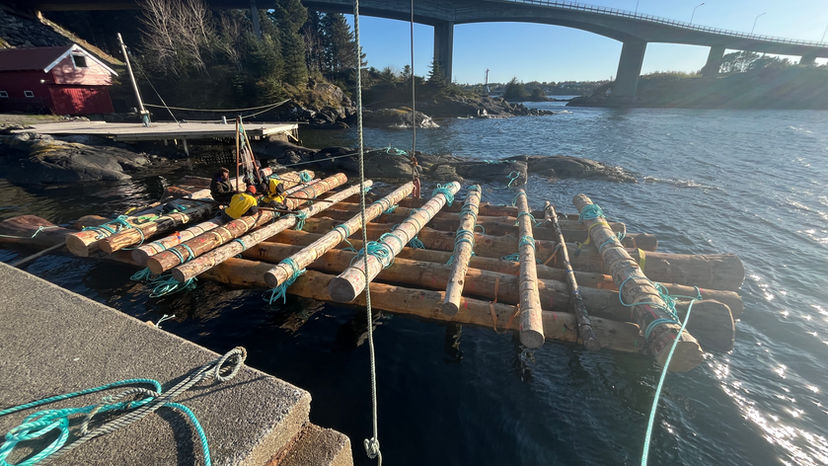
We finally put the logs into the water! The entire procedure took a full day. Each log weighed between 1.5 and 2.5 tonnes, bringing the total weight of the raft to a staggering 14 tonnes.
-
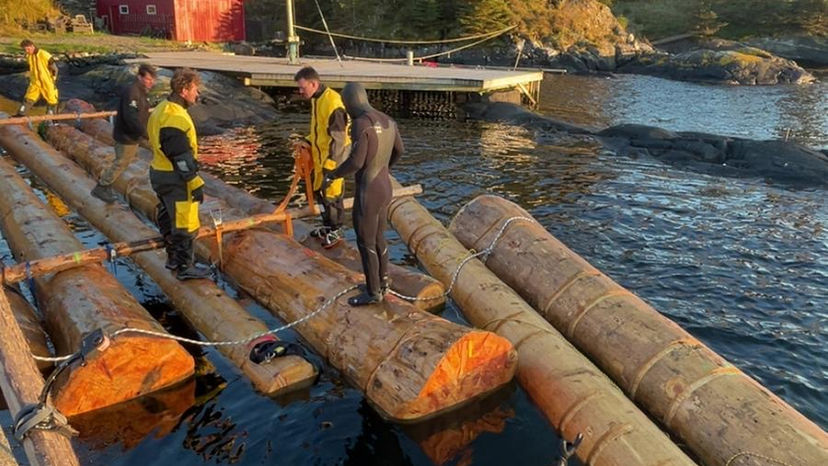
Once all seven logs were in the water, we bound them together with two provisional crossbeams to align their spacing, orientation, positioning and rotation.
-
The following day, we placed the crossbeams - each weighing between 150 and 300 kg - on top of the logs. This brings the total weight of the raft to almost 18 tonnes.
-
We faced a major deadline: by contract, we had to move the raft to a different dock within one week of launch. That meant we had to bind the crossbeams to the logs as quickly as possible.
-
But this task was far from simple. It took us two full days just to develop the best method for binding and tightening the crossbeams - and another two and a half days to complete the process. This meant long working hours and less sleep for a week.
-
In parallel, we had to finish parts of the hut and its base to make them transport-ready. We also secured the top ends of the stays and shrouds to the mast.
-
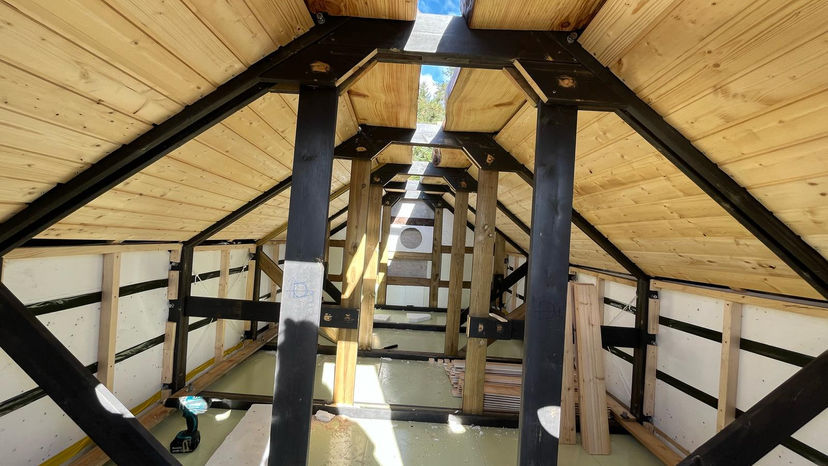
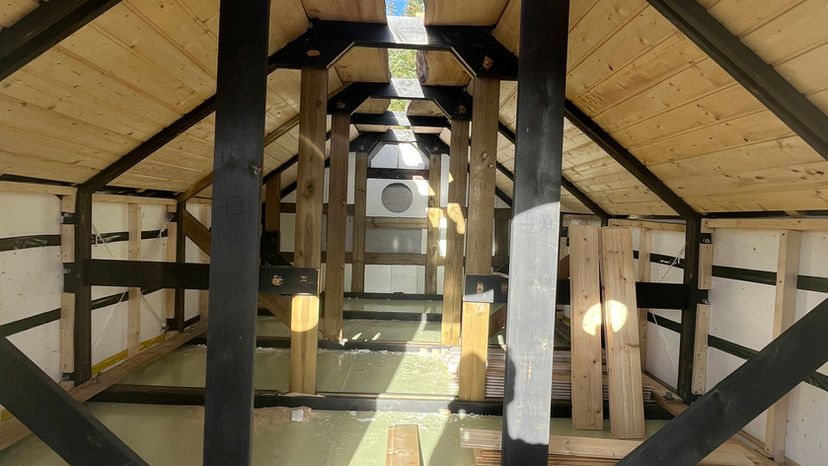
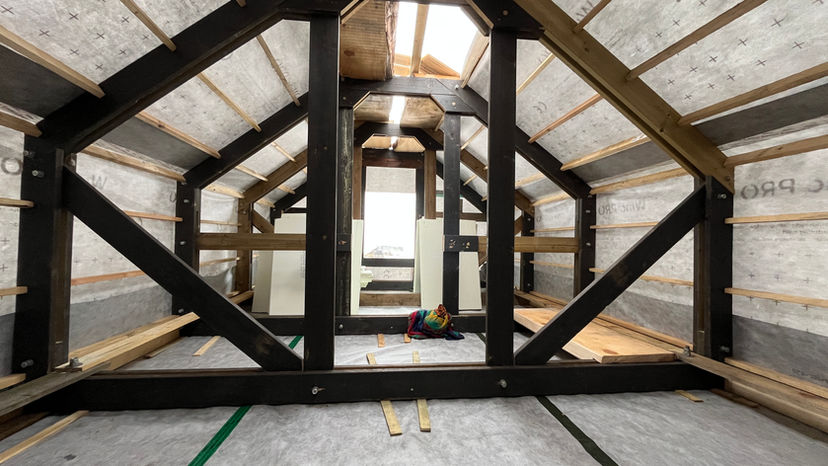
We mounted the rear exterior cladding of the hut, as well as the interior cladding of the roof.
-
The raft is now floating - but with a catch: it’s slowly sinking. Since the logs are in constant contact with water, they’ll gradually absorb it.
-
Based on our estimates, we now have a time window of about three months until the raft becomes unusable.
Part 9
Week 6
14.04.25 - 20.04.25
-
We finished building the cockpit.
-
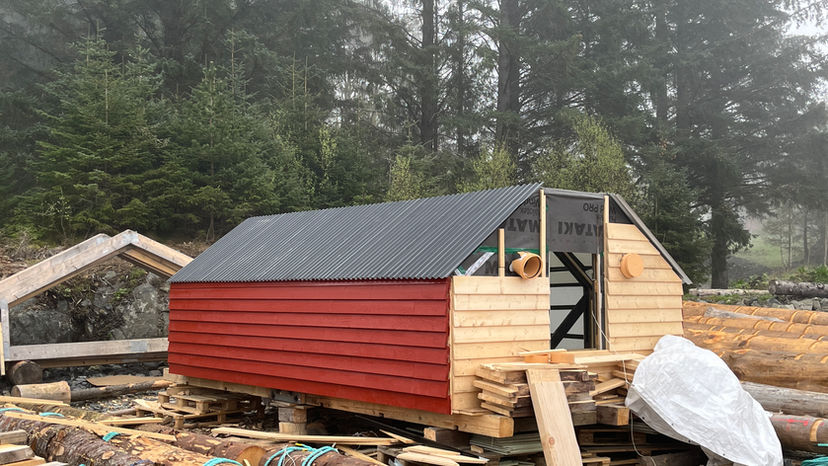
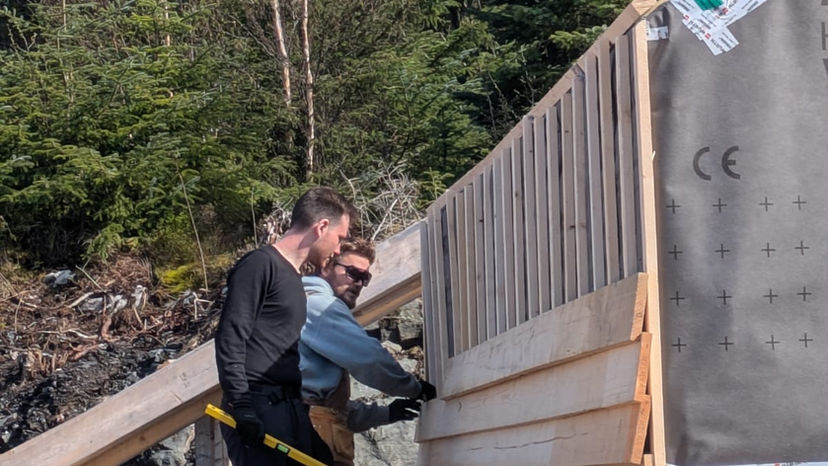
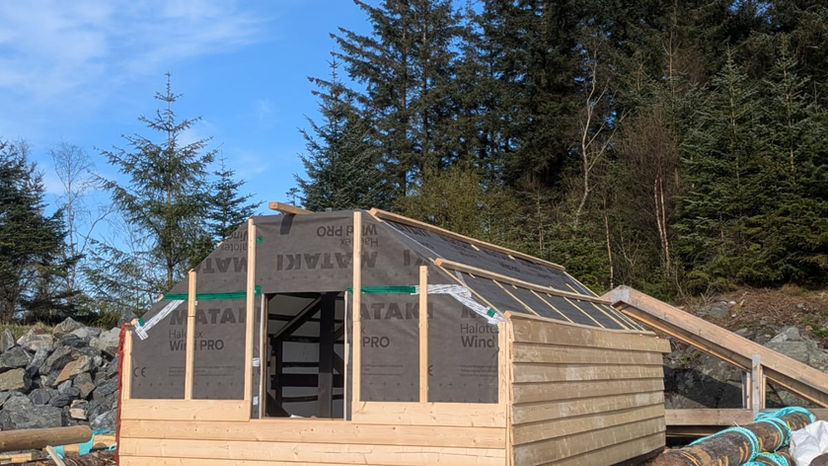
Work on the roof continued, and we mounted the damp-proof membrane onto the frames. The hut is now wind- and waterproof from the sides.
-
We cut and installed insulation for both the floor and the walls of the hut.
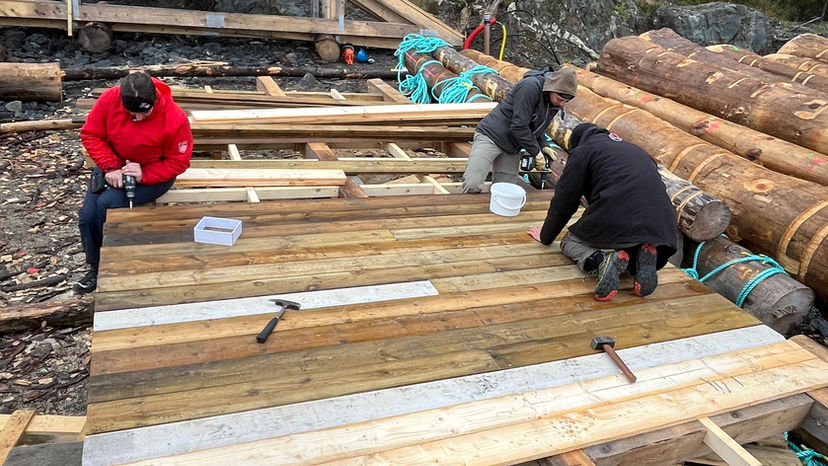
-
We installed the floor itself - it's mint green and was generously donated to us for free.
-
We continued cutting and preparing the interior cladding.
-
We painted the exterior of the hut in red.
-
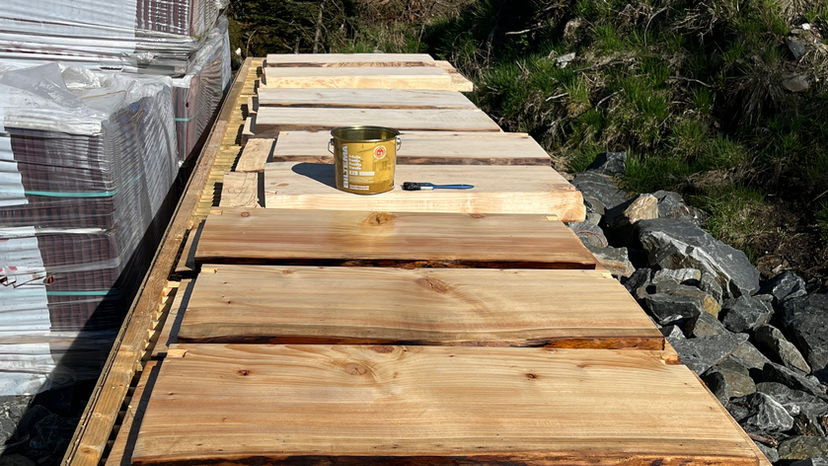
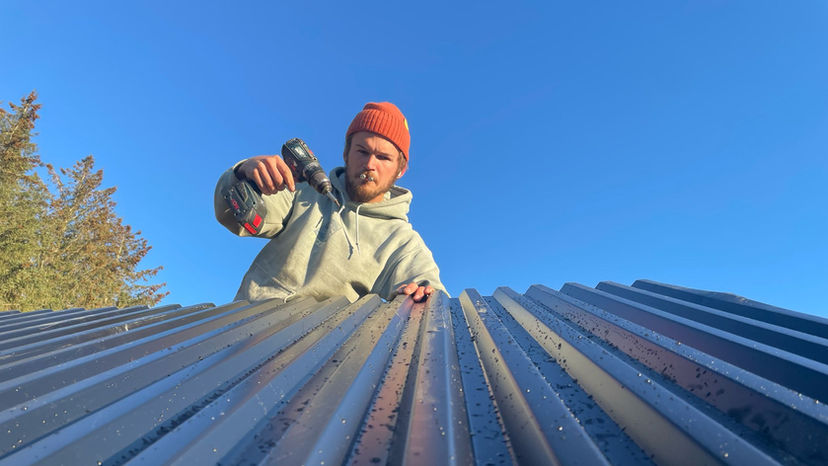
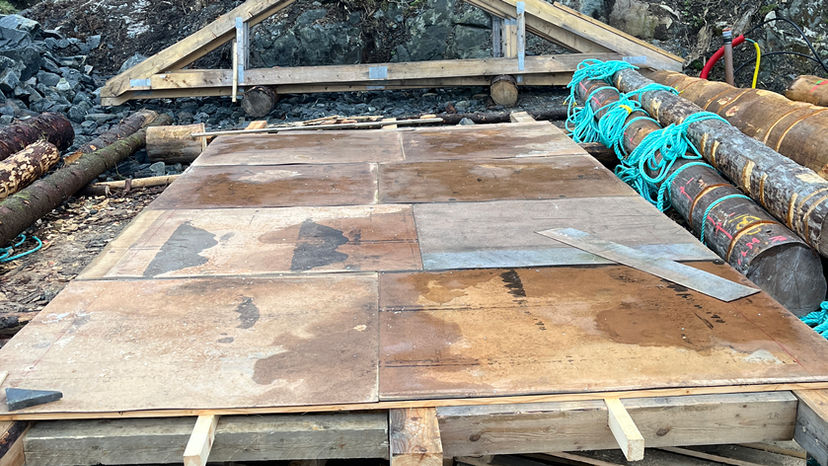
We mounted the roofing plates to complete the roof structure.

Schematic: How to cut and install the roofing plates (black)..
-
We completed all parts of the deck.
-
The hut is now starting to take proper shape - both structurally and visually.

Plan: The raft's bow with all deck parts.
Part 9
Week 5
07.04.25 - 13.04.25
-
We finally received the wood for the Guaras as well as for the hut’s base frame. It was a 16-hour job that involved two round trips - each 90 minutes one way.
-
We tightened the mast and the yard using woodlings, wrapping and tensioning the rope, then securing it with knots and nails.
-
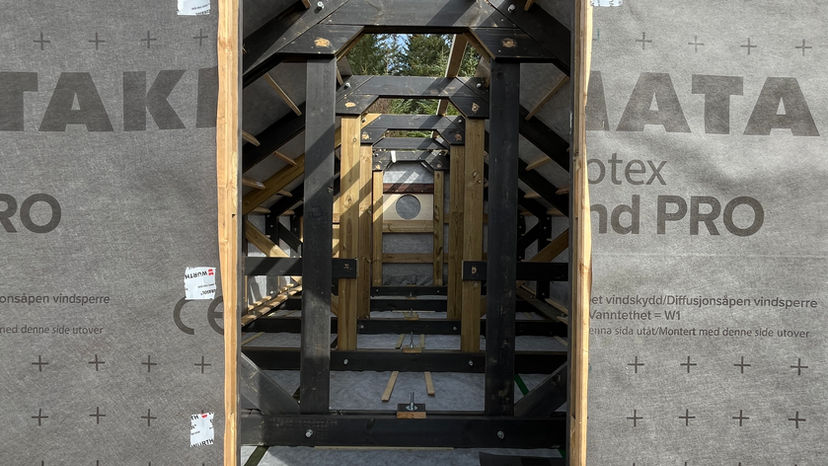
We built the hut’s base frame - a task far more complex than it sounds. For each of the three 6-meter beams, we had to join two 3-meter beams. It took three days and two attempts. We also had to construct the frame elevated off the ground to allow access underneath, while keeping it as level as possible.

Schematic: The hut's base frame.
-
We reinforced the base frame by adding a layer of wooden planks on top.
-
We completed the mast shoe - a large wooden block made from several planks that secures the mast’s position on the pope.
-
We began designing the cockpit, which will house all the sheets, the running rigging, and the Guara level-control system.

Plan: The cockpit.
-
We started mounting the hut’s frames onto the completed base.
-
We cut the exterior cladding for the front and rear walls of the hut.

Schematic: How to cut the exterior cladding for both front and back wall.
-
We also began cutting the interior cladding.

Schematic: How to cut the interior cladding for the back wall.
- We designed the rear-facing window.

Sketch: How the rear window might look like.
- We worked on the Guara fixation system.

Schematic: Guara-fixation
- Finally, we cut the wooden parts for the roof structure.
- And we finished coating all logs with three coats of linseed oil.
Part 8
Week 4
31.03.25 - 06.04.25
-
The week started off a bit rough—we had to repair the generator, but we managed to get it running again.
-
We completed building the hut frames. It took longer than expected, and we had to adjust our plans on a daily basis.


Schematic: How to build the frames for the hut. Different kind of frames are needed depending if they support the eating area or the bed.
-
We finished assembling the outer deck sections that run along the perimeter of the raft.
-
We cut notches into the frames to ensure the distance pieces could lie flush and fit properly.
-
Work on the cladding continued as we kept cutting pieces for the hut’s outer wall.
-
We also prepared the wooden planks that will form the base of the hut.

Schematic: The hut's base frame with wooden planks on top.

Plan: The whole raft with the hut's base in dark mint green with bright orange stripes.

Schematic: How the frames will be mounted to the base.
-
We cut the rope into lengths and began splicing them to the crossbeams, preparing them for binding to the logs.

Sketch: Calculation of the amound of rope needed to bind the crossbeams to the logs.
-
A major issue came up: we had forgotten to discuss the position of the mast. This led to incorrect notches being cut into the pope. We resolved the issue by setting the mast 60 cm further back, which fortunately meant we no longer needed a bowsprit.
-
We began coating the logs with linseed oil. This should help prevent them from soaking up too much water and buy us more time before the raft starts to sink.
Part 6
Part 7
Week 3
24.03.25 - 30.03.25
-
At the start of the week, heavy rain was forecast, so we covered the logs with a tarp to protect them.
-
We completed shaping the front ends of the logs with the chainsaw to improve their hydrodynamics.
-
We also finished cutting all the notches.
-
Work on the hut frames continued, though it proved more challenging than expected due to the uneven ground and lack of a proper right angle to align everything.

Schematic: How to make the frames and how many we need.
-
We also continued working on the cladding and the distance pieces for the hut.
Part 5
Week 2
17.03.25 - 23.03.25
-
Since there’s no electricity at the building site, we began using the generator and one of our 220Ah batteries intended for the raft. To use the battery, we built a small setup to connect it to an inverter.
-
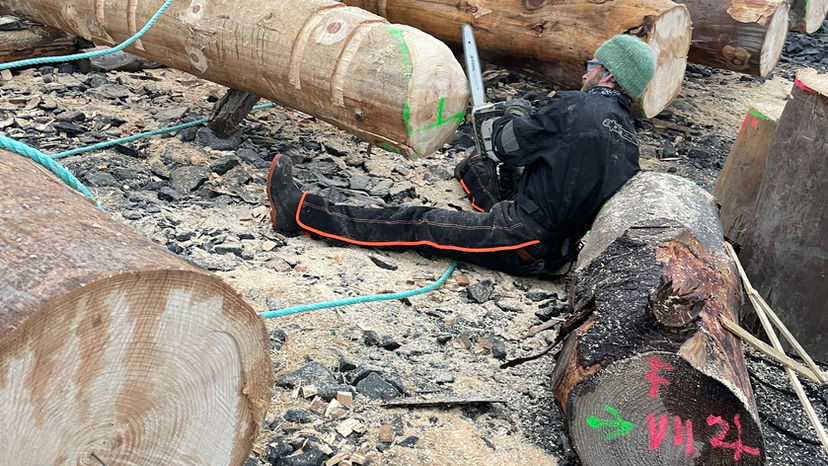
We continued working on the notches in both the crossbeams and the logs, and we’re now nearly finished with all of them.
-
We had to remove the top parts of the new crossbeams, as they were too heavy and had cuts left over from the roof structure.

Schematic: How to flatten the two new crossbeams.
-
We began fabricating distance-pieces to ensure the hut’s frames are spaced correctly.

Schematic: These are the distance pieces in between the frames. We need 70 of them.
-
We also started pre-fabricating components for the hut’s frames.

Schematic: How a frame of the hut should look like.
-
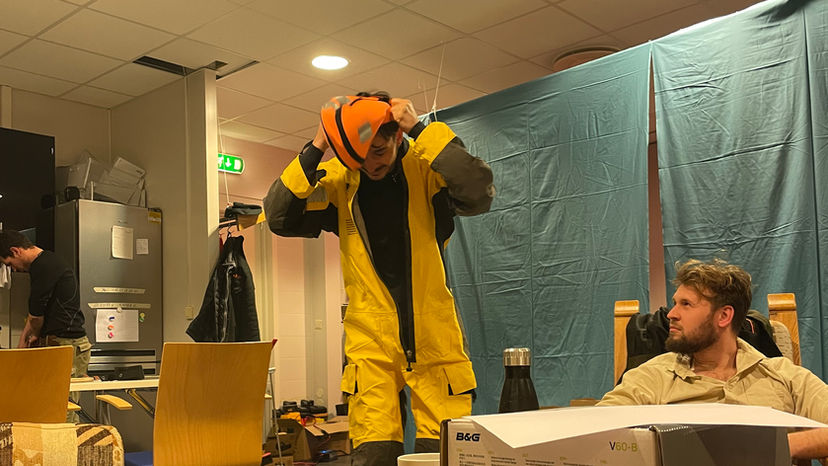
We practiced putting on the survival suits (using our work suits for training). The goal was under two minutes - and we made it. Our best time was 1:37.
-
We started shaping the fronts of the logs to make them more aquadynamic.
-
Lastly, we began cutting the outer cladding for the hut.
Part 3
Part 4
Week 1
10.03.25 - 16.03.25
-
To improve the quality of our work and ensure we don’t overlook anything, we created a weekly work plan, along with detailed daily schedules that include schematics and sketches.

Plan: The weekly construction plan of week 1. Every day is roughly described with all tools, materials and persons needed and the goals to reach.
-
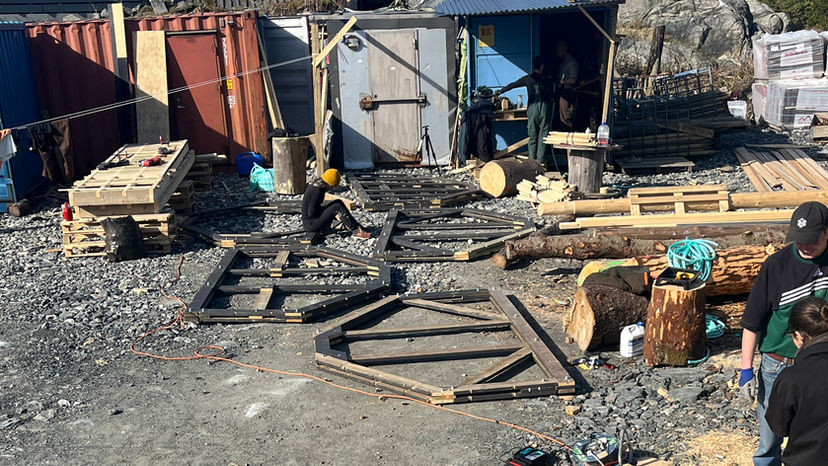
We started working by removing the roof that had been covering the logs - it had to be taken down before we could access and work on them properly.
-
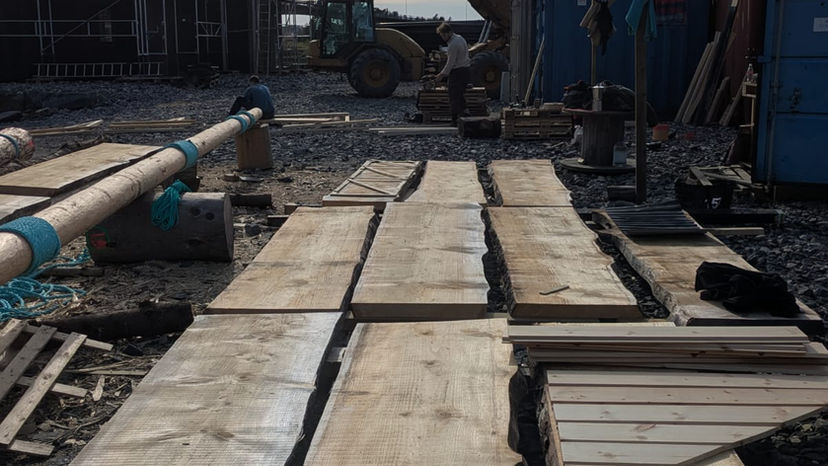
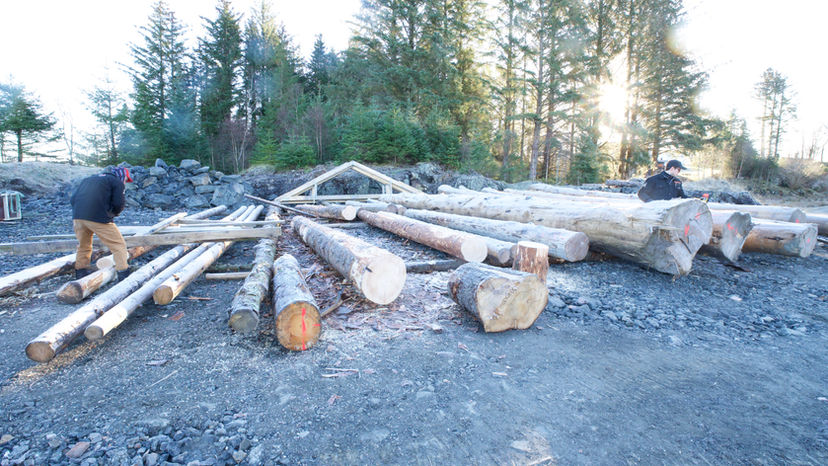
Once uncovered, we laid out all the logs to prepare them for shaping and construction.

Schematic: How the logs and crossbeams should be spread out and how to set up the building site.
-
We debarked a crossbeam that had previously been part of the roof. It was in good condition, so we decided to repurpose it for the raft.
-
Our UHV radio finally arrived by post, and we also managed to bring a new sponsor on board to provide us with wood.
-
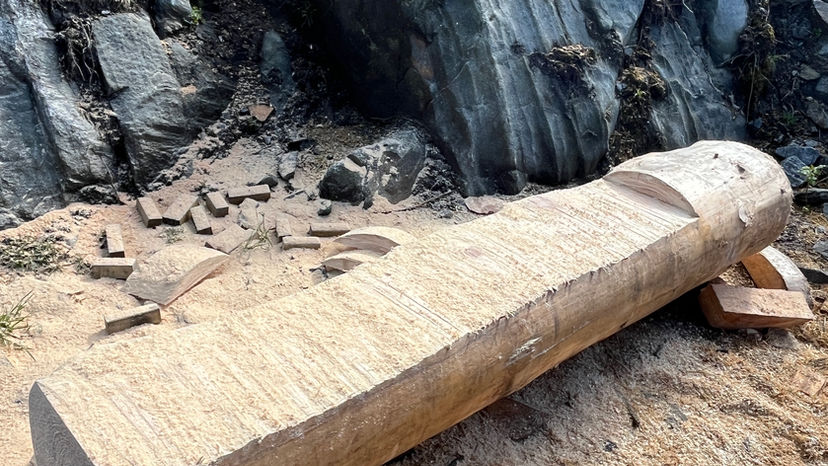
We began carving notches into the crossbeams. These notches will ensure the rope stays in place when the crossbeams are later tied to the logs.

Schematic: How to make the notches into the logs and crossbeams.
-
The first batch of wood for the deck and the hut arrived, and we stocked our containers with all the necessary tools and materials.
-
We also improved our living conditions by hanging sheets from the roof, turning our bedroom into a more private and comfortable space.
Part 1
Part 2
Week 0
01.03.25 - 09.03.25
-
We arrived near Bergen, Norway, where we’ll be building the raft.
-
This week was all about getting to know each other and setting up our accommodation for the upcoming construction phase.
-
We’re living in a large, unused conference room, which we’ve tried to make feel more like home.
-
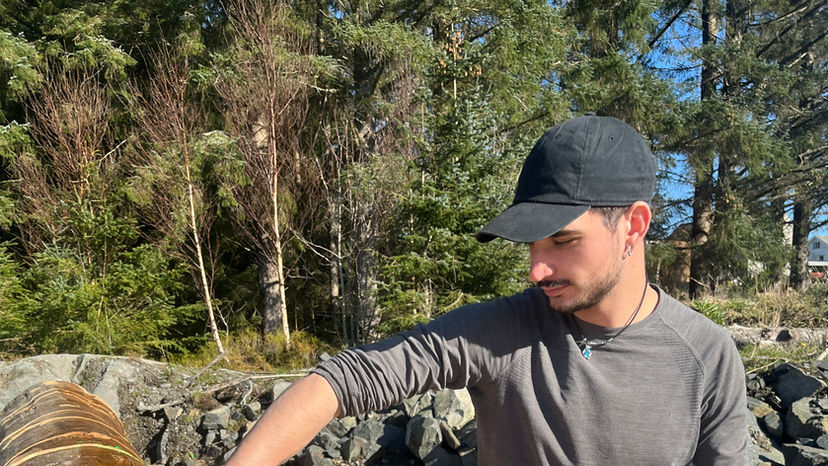
We needed to cut two more trees for the yard and the mast. We asked friends there to cut them for us, while we helped.
-
We barked the two freshly cut trees (we took the bark of the tree).


